
This is not my first year canning pickles, however, I do hope it is my most successful! I have never had issues with flavor or the jars being shelf stable, but I just cant seem to get them to stay crispy!
In previous years, I have always waterbathed the pickels. It is how I can everything! This year, I tried open kettling them.
What the heck does open kettle mean?!
This is one of the oldest canning methods. Technically, this isn’t really processing the food being canned. You take your cucumbers (or whatever you are using) and put them in a HOT jar, add the HOT boiling brine, put the HOT lid on top, and the ring and let sit for 24 hours to seal.
I definitely know of many people that process this way, but I must tell you…the USDA does not approve this method for safe canning.
Personally, I really enjoy learning and using skills that my grandparents used. Keep reading on to find out how I did mine.
Open Kettle Dill Pickles
First step is aquiring your pickling cucumbers. Wash well, cut off the blossom end and cut how you want them.
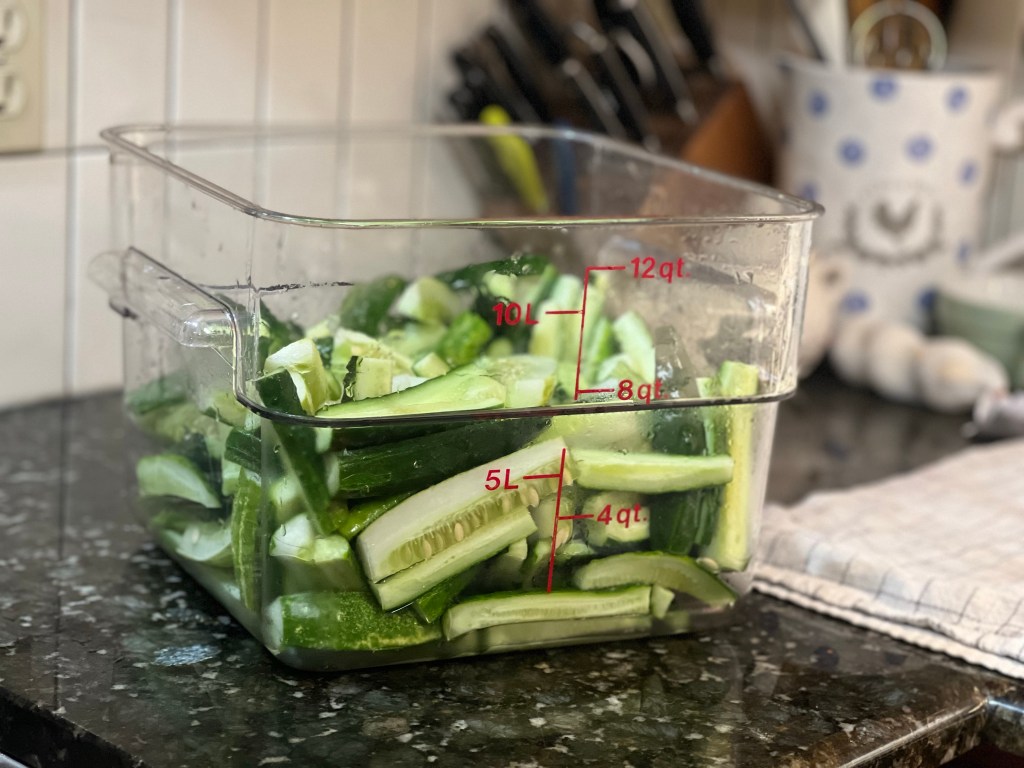
I put them in the container pictured above with salt water, placed a plate to keep them down and covered. I kept this in the fridge for 2 days. I have read a lot of different processes for this. Some people do it for 2 hrs and all the way up to a week. Only time will tell if the 2 days was a good call!
Day of Canning
I started the day with putting the jars, lids and rings in the dishwasher with a sani rinse to be cleaned and sanitized. Once they were done, I kept them on a cookie sheet in the oven at 220 F. I put them in and then turned on the oven. My thoughts were that they would have a better chance of not cracking if they warmed up with the oven. Also, you want to put your lids in a pot at a simmer. This keeps them hot and softens the rim to help it seal.
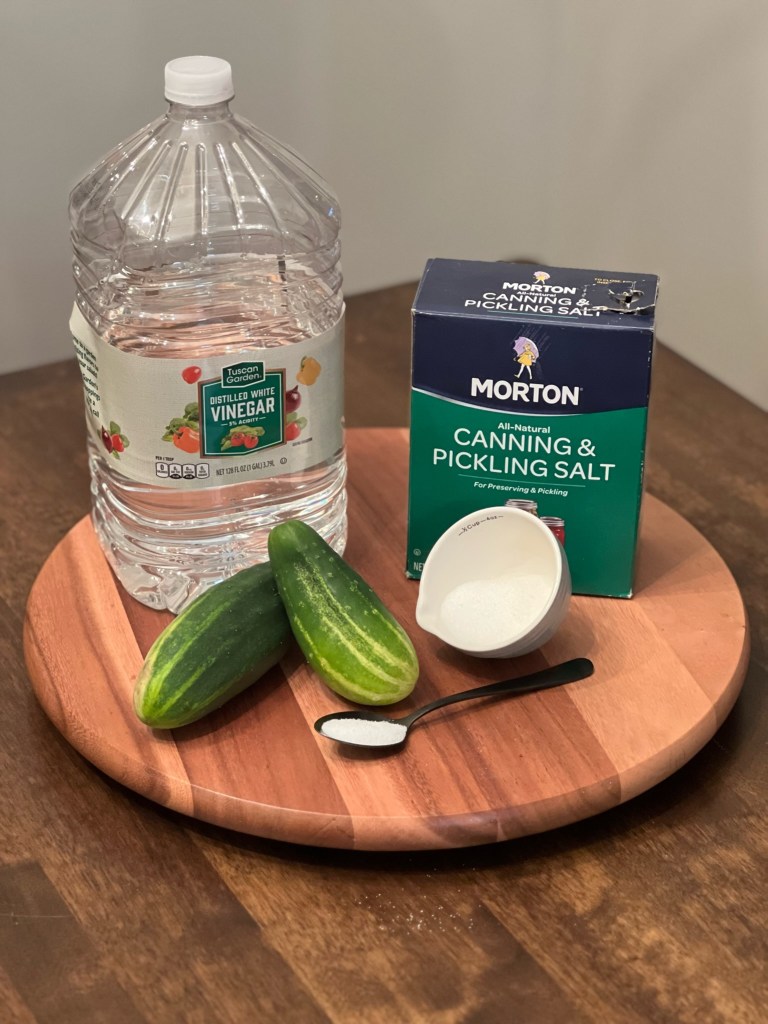
Next you want to get the brine going. In a stockpot, add 4 cups water (filtered water), 3 cups vinegar, 1/3 cup salt and 1/2 cup sugar. Heat until everything is dissolved. Keep this boiling, it needs to go into the jars at a boil.
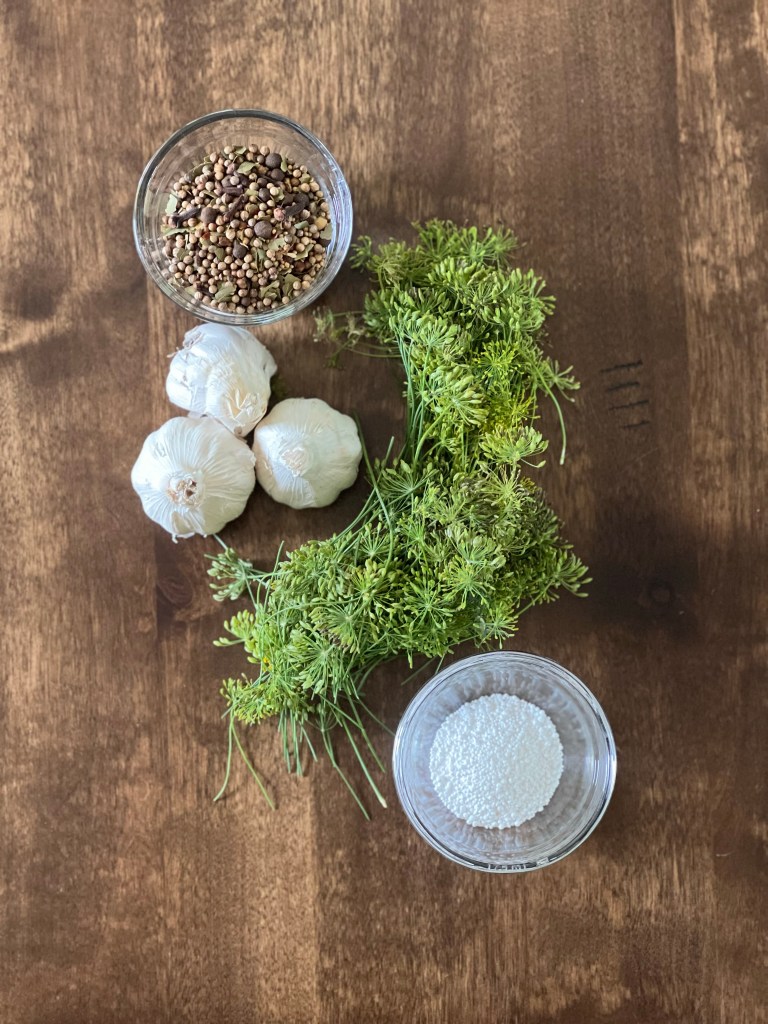
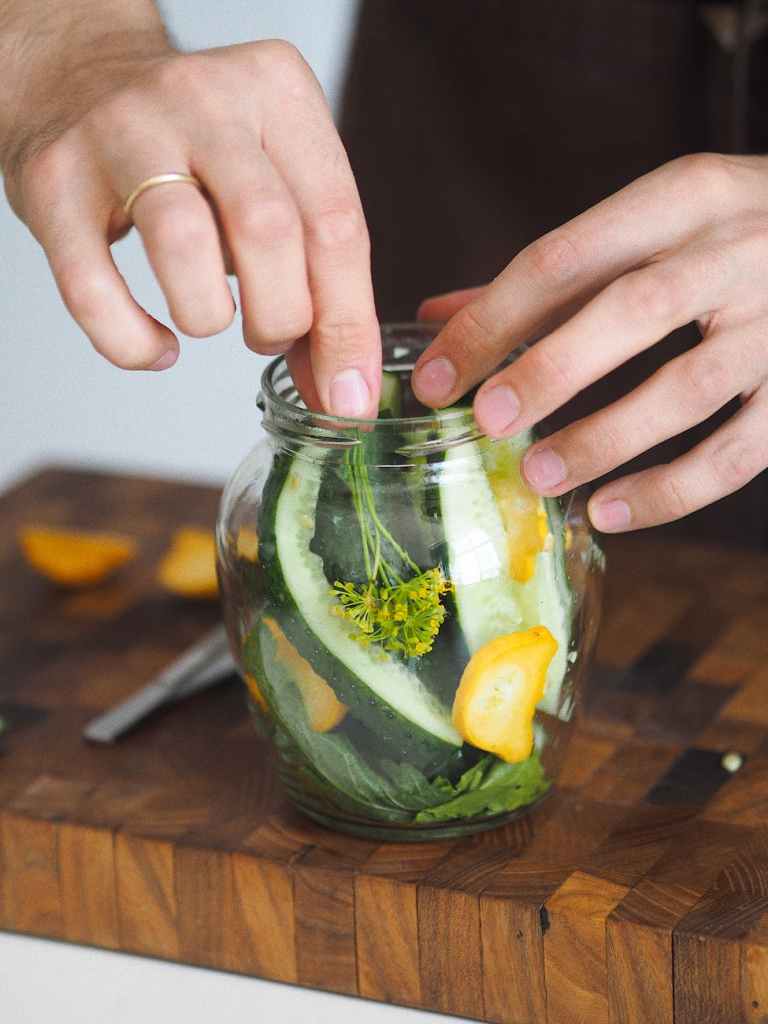
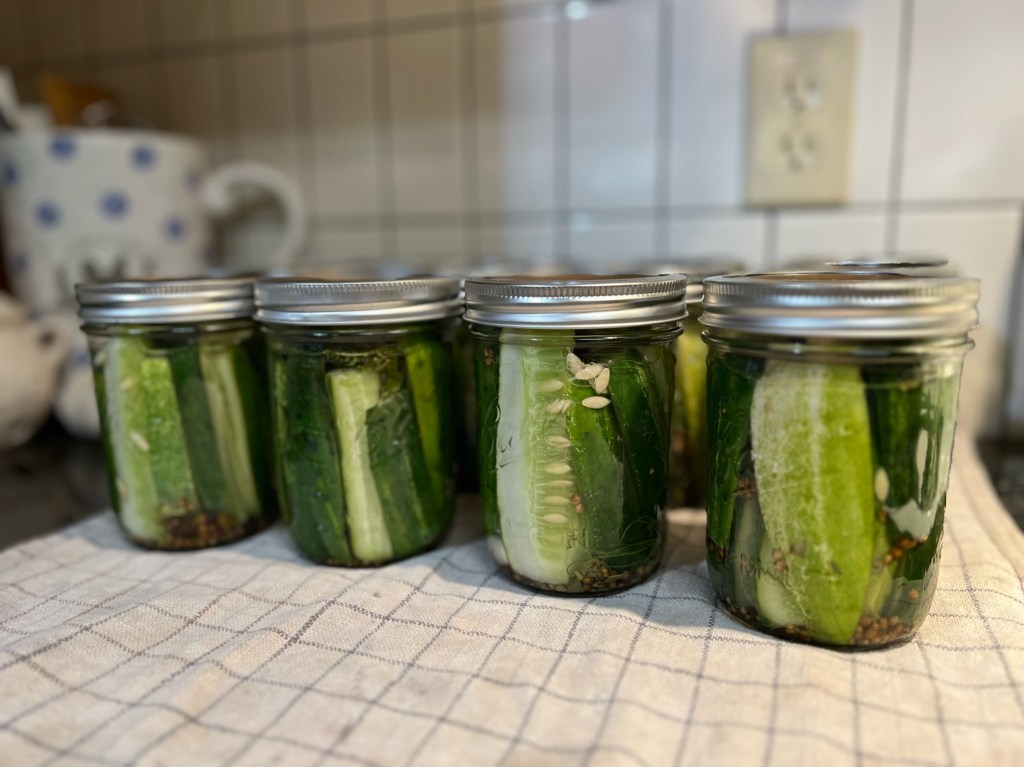
I found working with one jar at a time works best so the jars stay hot. I take one out of the oven and add 1 1/2 teaspoons pickling spice, 1/8 teaspoon pickle crisp granules, one garlic clove and 3 springs of fresh dill. Jam as many cut cucumbers in the jar as you can, keeping mind that they should not touch the top. I leave about 1/2 inch of head room. Trim cucumbers if nessessary. Using a funnel, add the boiling brine to jar. I then add another garlic clove and 3 more springs of dill. WIPE the rim of the jar! Put the hot top on and screw the ring on just finger tight so air can escape.
Leave the jars undistured for 24 hours. I leave them on the counter on a towel. I also place a towel over to keep the heat in.
After the 24 hrs, if they are sealed, remove the rings and place in a cool dry place (we keep our canned goods in our basement pantry). As they sit, the flavor should elevate and turn those cucumbers to flavorful dill pickles! The longer they sit, the better the flavor. I wil be opening one in 2 weeks and 1 every month after to monitor if they stayed crispy. I will update the results here!
First update expected Aug 24th, 2023

Leave a comment